將你的網站快速架站到免費雲端伺服器000webhost|菜鳥救星RookieSavior

文、意如老師
寫好的網站最後一步就是要發佈到伺服器上讓大家都可以看到你的網站,所以勢必需先準備好一台伺服器電腦,接著把網站架在自己的主機上,另外還需要準備一個固定IP以及個人一定要會的基本架站技能,最後還要顧及到伺服器24小時不能關機等等一些的瑣碎的事情,但如果你只是想測試看看網站效果的話,其實就不需要這麼麻煩了,我們今天就要快速簡化這些事,首先一開始要認識的就是線上雲端伺服器。
使用線上雲端伺服器的好處就是不需要再自己準備主機、IP…等等,大多需要架站的技能或軟體其實在雲端上人家都幫你準備好了,頂多我們就是申請個帳號,然後把你的網站上傳上去雲端空間,你的網站就架好了,並且有一個固定的網址,設定也相當簡單可讓你快速上手無痛架站。
線上雲端伺服器又有分免費與付費的伺服器,例如有需要付費的Google雲端伺服器、AWS亞馬遜、RedHat(openshift)等,有許多實際在經營的網站、專案都會選擇付費的雲端伺服器因為會來的比自己架站安全性、穩定性都來的高很多。
當然也有很多免費的雲端伺服器,當然相對沒有付費的好,廣告又多,但是對於一般人在練習或想測試的同學來說應該是足足夠用了。
接下來要分享的就是如何使用000webhost這家的免費雲端伺服器,在實作之前先準備好等等要放上去伺服器的網頁
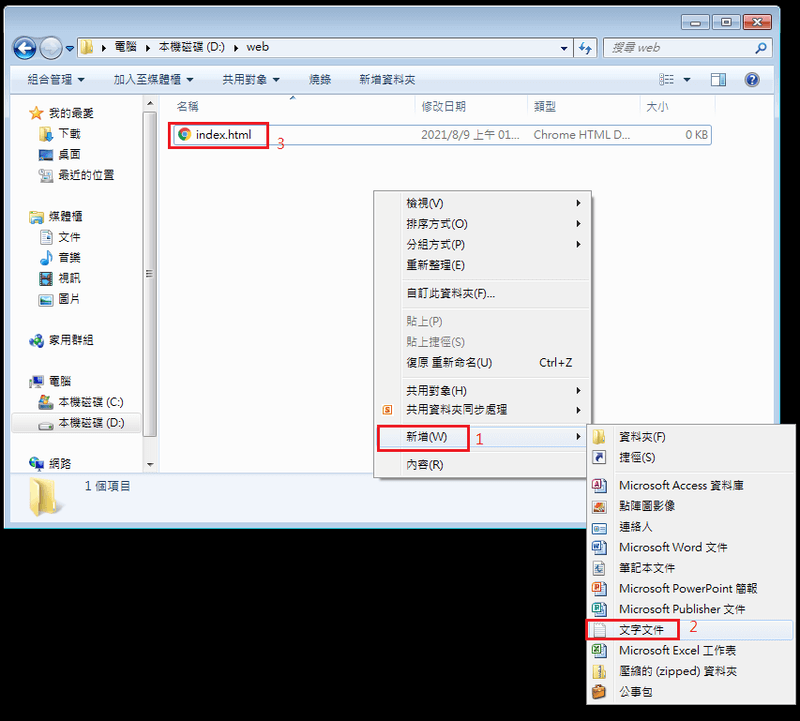
Step1、先建立一張網頁為首頁, 首頁命名固定為index.html
1. 右鍵>新增
2. 文字文件
3. 右鍵>重新命名為index.html
右鍵>開啟檔案>記事本

輸入程式碼:
<html>
<head>
<title>Yiru@Studio</title>
</head>
<body>
<button onClick="mybtn()">Yiru@Studio</button>
</body>
</html>
<script>
function mybtn(){
alert("hi");
}
</script>

首頁做好了,如下圖
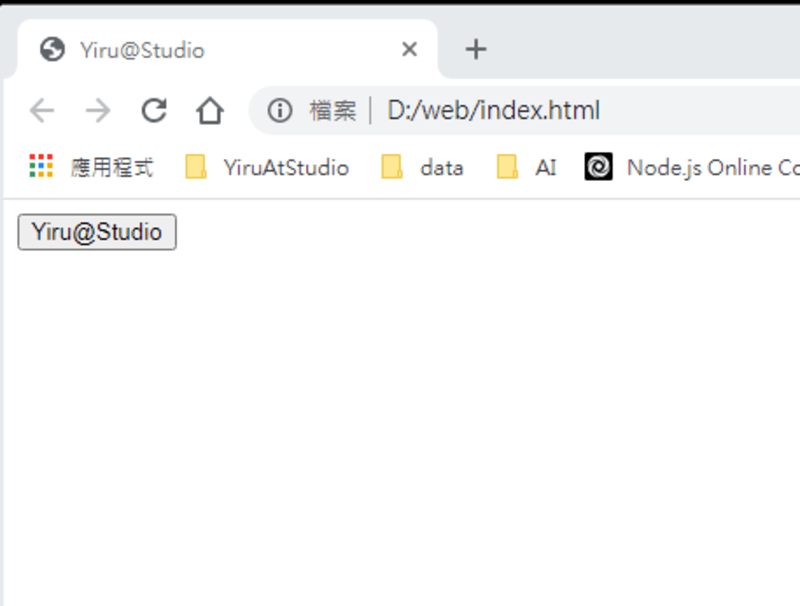
但是這張網頁目前都還在本機端,所以接下來就要把這張首頁放到雲端伺服器上面,之後任何人只要透過網址連結就可以看到這張網頁。
準備到線上伺服器000webhost看看吧。
000webhost官網首頁:htps://www.000webhost.com/

000webhost也支援了各式程式語言 php、mysql、nginx、wordpress等…

另外有免費及付費的功能,目前我們先選擇免費版本。
免費版本只能架一個網站、300MB的容量,不過對我們一般使用者來說已經足夠了,如果不夠也可以另外再購買

開始使用之前需要先到000webhost註冊一個帳號,也可以使用您的Google、Facebook等帳號快速登入

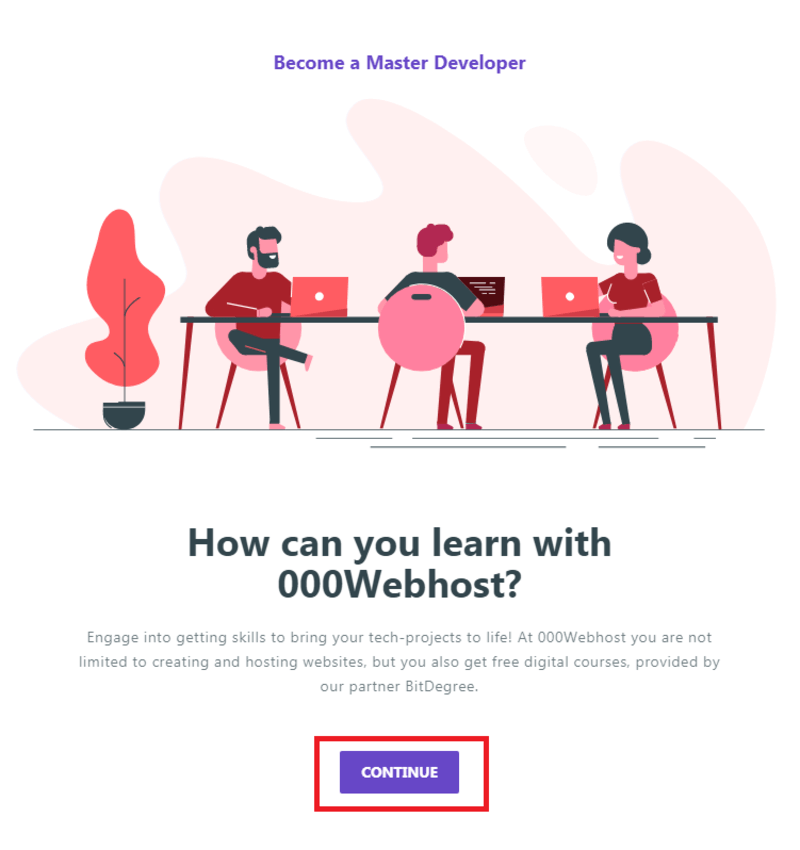
登入後的第一個畫面

選擇網站開發

繼續
輸入您的網站名稱及密碼

選擇上傳你自己的網站

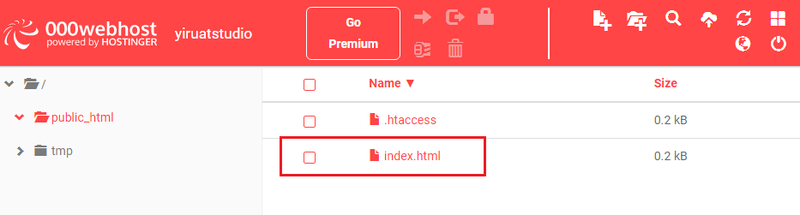
這時會跳出網站檔案管理工具,也可以看到我們雲端空間上的資料,目前預設資料夾有兩個,這兩個資料夾記得不要去刪除它,否則之後網站顯示會有問題。

接者把我們準備好上傳剛剛做好的網頁,先進入雲端的public_html資料夾內,開啟本機端的網站目錄,直接使用拖曳的方式將您的首頁(index.html)放進去。

點選上傳

確認是否上傳成功
上傳成功後,只要輸入您的網址即可自動讀取首頁(index.html)。
我的首頁網址到哪裡找?
回到000webhost的首頁,您就能看到你的網址了

點選進入後,會自動開啟您的首頁index.html這張網頁。
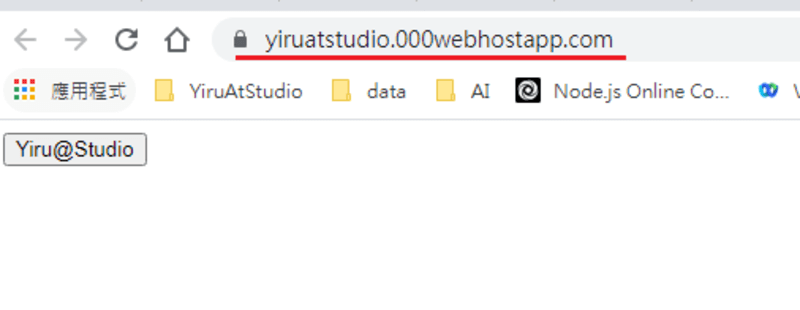
接下來您就可以分享這個網址讓任何人都可以到您的網站囉!
加入菜鳥救星官方Line並回覆「我想看文章」,不定期獲得更多知識吧!
不同頻道,不同知識!
Facebook Instagram Youtube