Photoshop教學:將插畫轉化成古風漫畫風格|菜鳥救星RookieSavior

文/圖、耀月老師
各位同學大家好,想必大家都有看過小說或漫畫翻開後,有部份會用黑白線條、或直接將圖轉黑白的那種內頁,又或是那種漫畫古風風格。今天就和各位稍稍介紹Photoshop實用的一些改圖方式,希望各位能有一些受益。
使用軟體:Photoshop
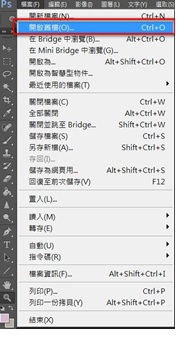
1. 首先,我們先拿出一張自己事先畫好的插畫,放入Photoshop內,開啟方式 檔案>開啟舊檔>選擇圖檔位置,將圖選取放置Photoshop。(JPEG圖片檔也可放置)。

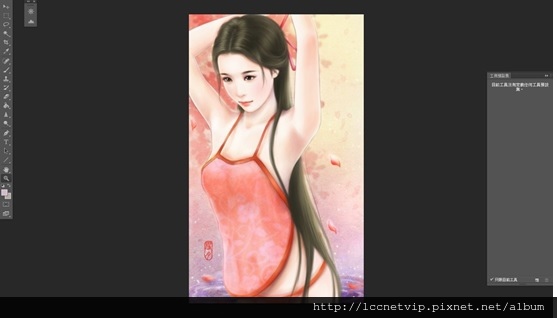
2. 將圖檔放置Photoshop內後,先到視窗>圖層,將圖層選項打勾,打勾完成後會叫出圖層視窗。

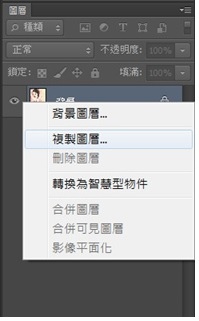
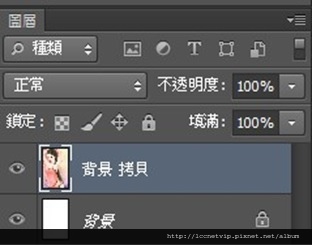
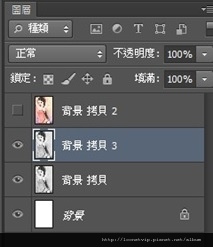
3. 叫出圖層視窗以後,先對著背景地方點選右鍵,選擇複製圖層,他就會複製出新的圖層在背景的上方顯示 背景 拷貝。

4. 複製完畢以後,將背景的圖清除掉,按CTRL+A全選>清除,他就會清除掉你所選擇的圖層圖檔。

5. 清除後,背景的部分就會變成空白的樣子,只留下剛才拷貝的部份。
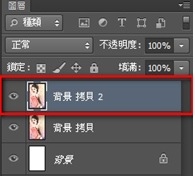
6. 接著在背景 拷貝的圖層上再點選右鍵,再複製一張圖層。(背景 拷貝2)
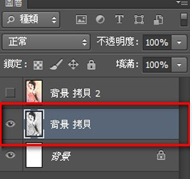
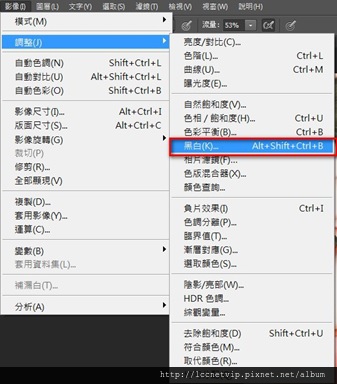
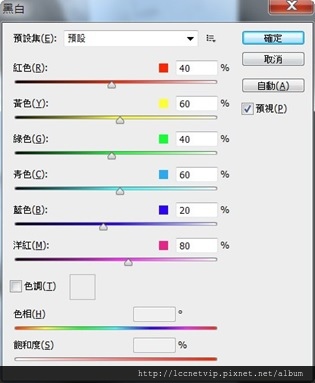
7. 再來選擇背景 拷貝圖層後,去影像>調整>黑白,選擇黑白預設值案確定後即可。
8. 在圖層的背景 拷貝 按右鍵,再複製一個圖層為背景 拷貝3。
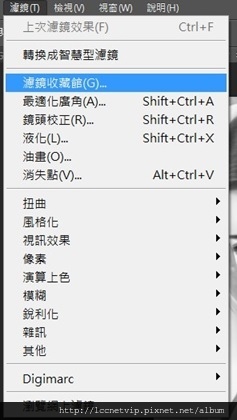
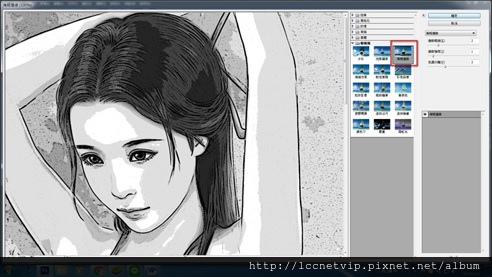
9. 選擇 背景 拷貝3以後,到濾鏡>濾鏡收藏館叫出視窗,選擇”海報邊緣”後按確定。
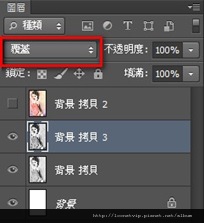
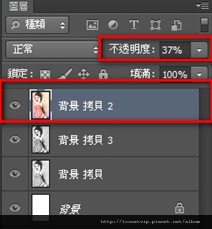
10. 將剛才更改的海報邊緣圖層的 圖層混和模式改為”覆蓋”後,將上方的背景 拷貝2的不透明度調整至37%左右。
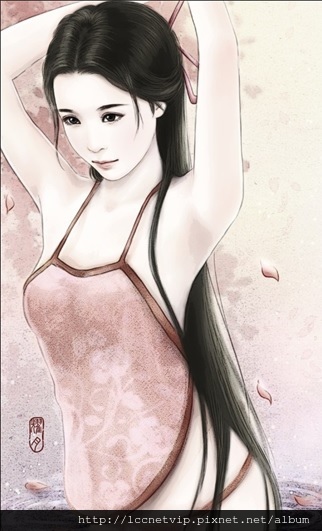
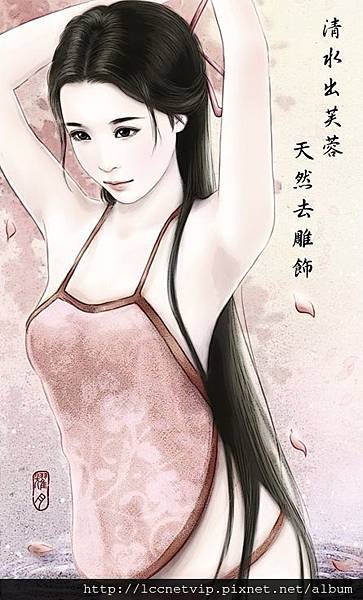
11. 插圖就會看起來很有漫畫風格了。
12. 再來就是去找工具列上的字母大寫T。
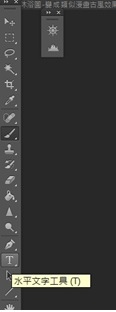
將T打在想打上字體的部位。
13. 可以到上方的工具列那兒,找尋這個圖示↓。
叫出字元視窗。
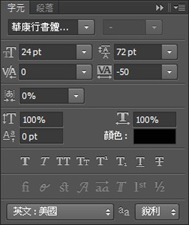
更改一下圖示上標示的紅色框框內的數字,改為30pt。
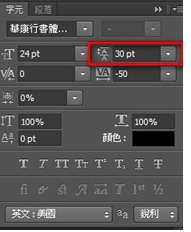
字體才可以完美的上下黏在一起啦^^。
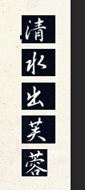
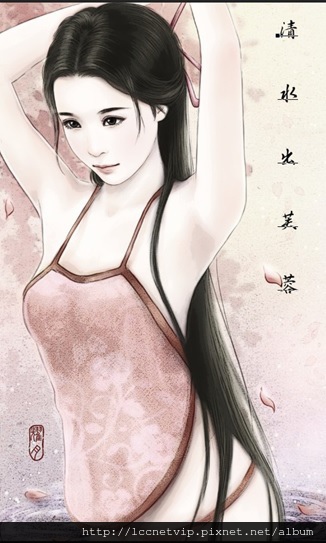
14. 打上字體後,就完成啦,這樣其實還挺有味道的XD。
加入菜鳥救星官方Line並回覆「我想看文章」,不定期獲得更多知識吧!
不同頻道,不同知識!
Facebook Instagram Youtube