菜鳥救星illustrator教學:線條漸變插畫風

文、Andy老師
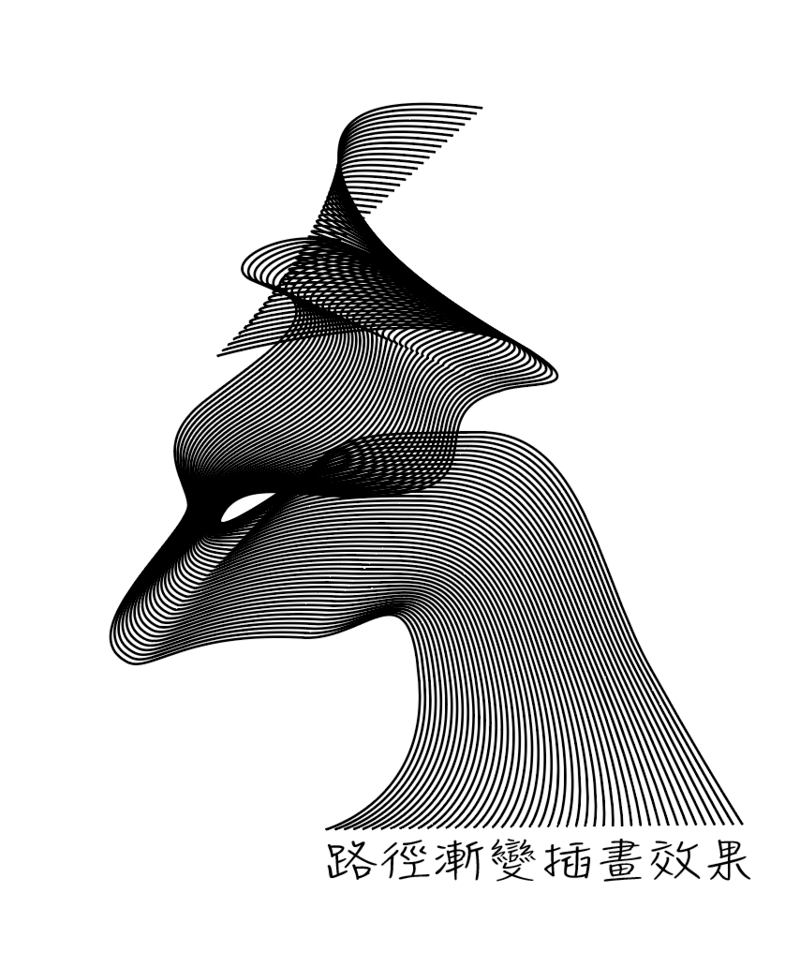
各位好,今天要介紹的是用AI,就是illustrator,裡面的路徑漸變工具繪製出動物插畫的效果。效果如下圖。
首先先從檔案/新增,開一個A4尺寸的文件。效果如下圖。

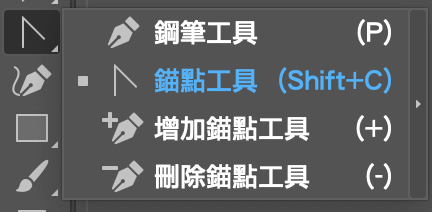
接著使用工具架上的鋼筆工具,如下圖所示。

若沒看到,則可按住鋼筆圖標不放,即可看見更多鋼筆工具,如下圖所示。
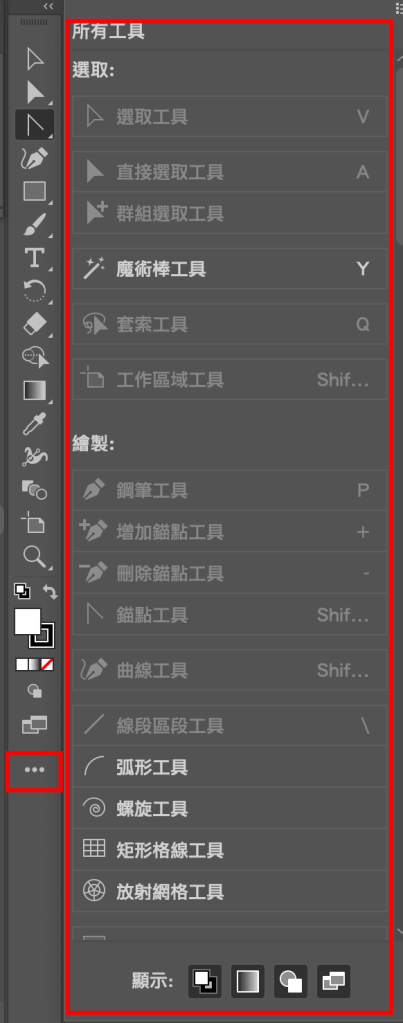
若還是沒看到,是有可能的,因為在illustrator cc 之後的版本,有一個更多工具的圖示按鈕,點下後裡面有更多工具,因為illustrator越新的版本,工具越多,因此工具假放不下所有工具,所以新增一個更多工具的圖示按鈕,點下後裡面有更多工具,並選取你要的工具拖曳到工具架上,如下圖紅框所示。
好,那找到鋼筆工具
我們就先來畫一條線,兩點成一線,而在畫這兩個點的時候,按著左鍵不放,就會從點中拉出兩根控制棒,意思就是左鍵點一下並按住不放加拖曳,便可拉出兩根控制棒,如下圖所示。
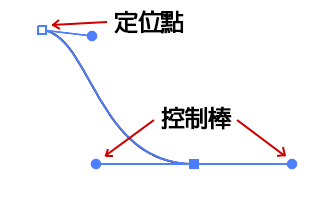
而控制棒就是控制這條路徑的線條形狀,因此若要改變線條形狀可以使用鋼筆調整工具,他就在鋼筆工具內,只要左鍵按住不放即可彈出內部其他工具。如下圖所示。
這個圖示就是鋼筆調整工具,如下圖所示。

因此就可以用這工具去移動控制棒,就會改變線條形狀,如下圖所示。


再來要移動定位點,只要在選擇鋼筆調整工具下,按住shift,就可以移動定位點,而去改變線條形狀,如下圖所示。

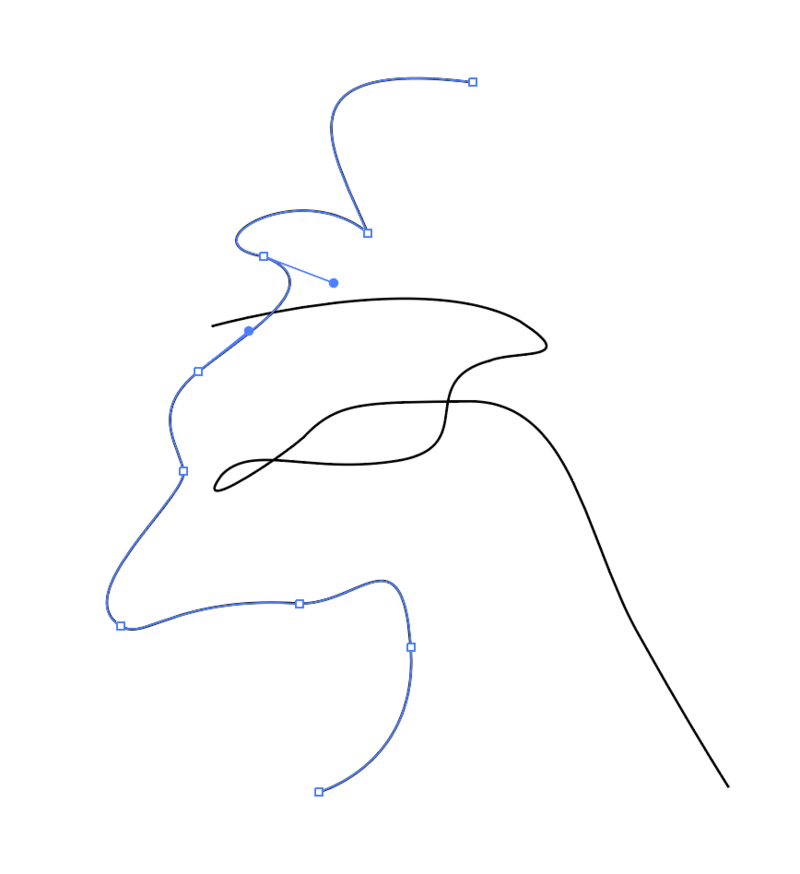
好,接下來我們就可以用鋼筆工具來畫以下這個圖型,我是畫了兩條鋼筆路徑線條。如下圖所示。
接著再用選取工具

去框選這兩條線,然後再執行物件/漸變/製作,如下圖所示。

此時會在兩條線出現一條線,如下圖所示。

再執行物件/漸變/漸變選項,如下圖所示。

再將間距改成指定階數,階數數值可自行輸入,畫面會有預覽效果讓你判斷效果。如下圖所示。

這樣就完成線條件變風格插圖了。
以上風格是由andrea-minini第一個繪製出來的線條漸變風格,而illustrator這個漸變功能早在CS6就存在,只是有人把它運用得特別好,所以一樣的工具,不同人用,效果就會不一樣。而我這次教學也是參考andrea-minini的線條漸變插畫作品。那會介紹這樣的效果,是因為它實在太神了。
那這次的教學就到此,謝謝觀賞。
加入菜鳥救星官方Line並回覆「我想看文章」,不定期獲得更多知識吧!
不同頻道,不同知識!
Facebook Instagram Youtube